2024 年轮替 mTLS 证书
和 2023 年一样,这次维护用了 1Password 帮忙存储和读取 key,不过生成 Private key 的功能尚在 beta 阶段,所以还是先用 openssl 生成。
创建今年的文件存储路径
mkdir -p clients/neko/2024生成 Private key 和证书签发请求文件
openssl genrsa -out clients/neko/2024/client.pem 8192
openssl req -new -key clients/neko/2024/client.pem -out clients/neko/2024/client.csr
应该得到这样的输出结果:
$ openssl req -new -key clients/neko/2024/client.pem -out clients/neko/2024/client.csr
You are about to be asked to enter information that will be incorporated
into your certificate request.
What you are about to enter is what is called a Distinguished Name or a DN.
There are quite a few fields but you can leave some blank
For some fields there will be a default value,
If you enter '.', the field will be left blank.
-----
Country Name (2 letter code) [AU]:CN
State or Province Name (full name) [Some-State]:Shanghai
Locality Name (eg, city) []:Shanghai
Organization Name (eg, company) [Internet Widgits Pty Ltd]:Ayaka Home
Organizational Unit Name (eg, section) []:Ayaka Home
Common Name (e.g. server FQDN or YOUR name) []:[email protected]
Email Address []:[email protected]

Please enter the following 'extra' attributes
to be sent with your certificate request
A challenge password []:
An optional company name []:
创建证书拓展文件
cat > clients/neko/2024/client.ext << EOF
basicConstraints = CA:FALSE
nsCertType = client, email
nsComment = "Ayaka Home Users Certificates"
subjectKeyIdentifier = hash
authorityKeyIdentifier = keyid,issuer
keyUsage = critical, nonRepudiation, digitalSignature, keyEncipherment
extendedKeyUsage = clientAuth, emailProtection
EOF
证书签发
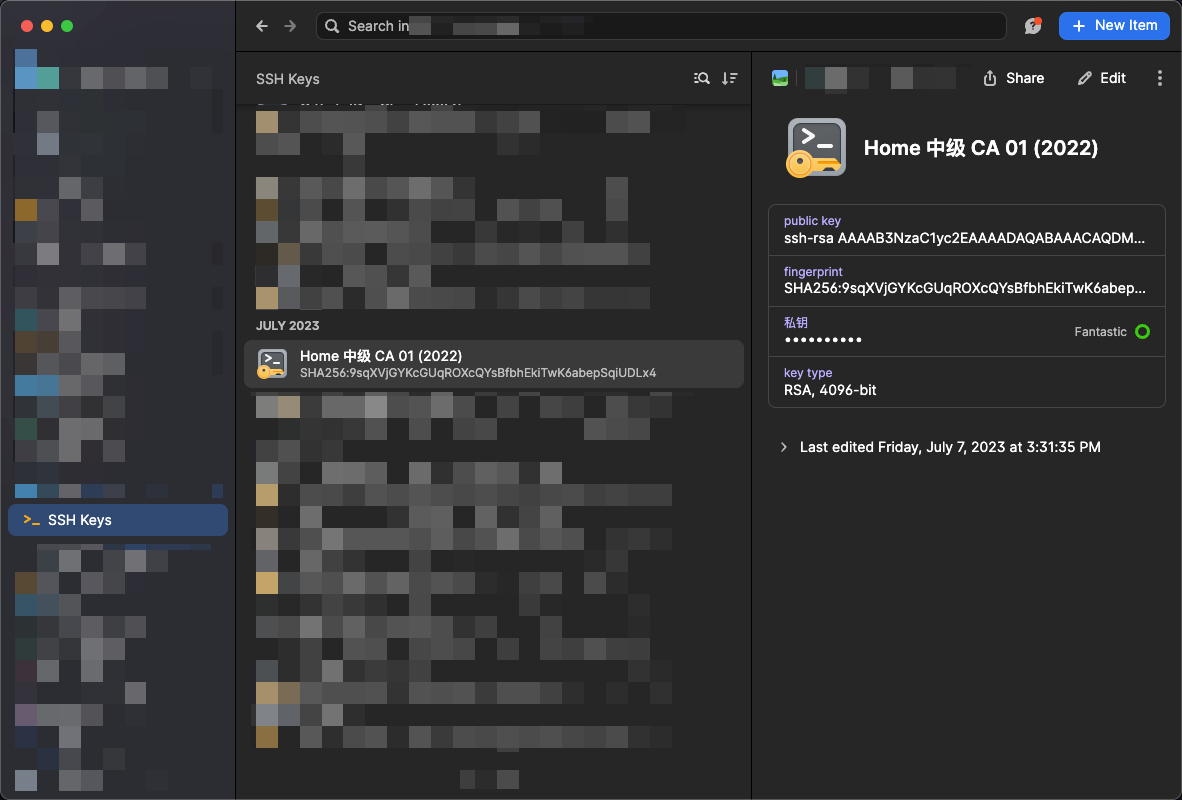
op read "op://<secret reference>" > intermediates/legacy/home_ca_intermediate_1.pem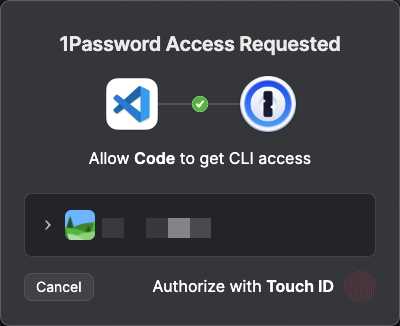
openssl x509 -req -days 365 -sha256 -extfile clients/neko/2024/client.ext -in clients/neko/2024/client.csr -CA intermediates/legacy/home_ca_intermediate_1.crt -CAkey intermediates/legacy/home_ca_intermediate_1.pem -out clients/neko/2024/client.crt -CAcreateserial
rm -rf intermediates/legacy/home_ca_intermediate_1.pem
创建证书链 bundle
cat home_ca.crt intermediates/legacy/home_ca_intermediate_1.crt > intermediates/legacy/home_ca_intermediate_1_bundle.crt用证书链 bundle 来验证证书
openssl verify -CAfile intermediates/legacy/home_ca_intermediate_1_bundle.crt clients/neko/2024/client.crt应该得到这样的输出:
$ openssl verify -CAfile intermediates/legacy/home_ca_intermediate_1_bundle.crt clients/neko/2024/client.crt
clients/neko/2024/client.crt: OK
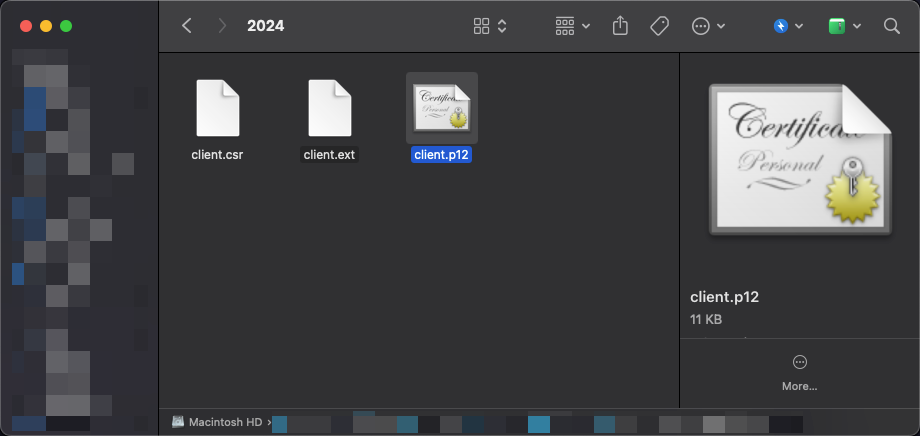
验证成功后打包为 .p12 格式的文件方便导入导出和安装
NOTE
值得注意的是,由于 openssl v3 之后修改了 p12 的算法,导致 macOS 的 openssl 的库与签发后的 .p12 文件不兼容,按照 Cannot import .pfx certificate - Apple Community 的介绍,我们需要添加一个 -legacy 的参数采用过去兼容的算法。
openssl pkcs12 -export -in clients/neko/2024/client.crt -inkey clients/neko/2024/client.pem -certfile intermediates/legacy/home_ca_intermediate_1_bundle.crt -out clients/neko/2024/client.p12 -legacy成功导入到 KeyStore 里面之后记得删除私钥和证书签发请求文件
rm -rf clients/neko/2024/client.pem
rm -rf clients/neko/2024/client.csr
导入给 macOS 的设备
在输出的目录中找到 .p12 文件,然后双击:
在弹出的密码输入框中输入 .p12 文件导出的时候的密码。
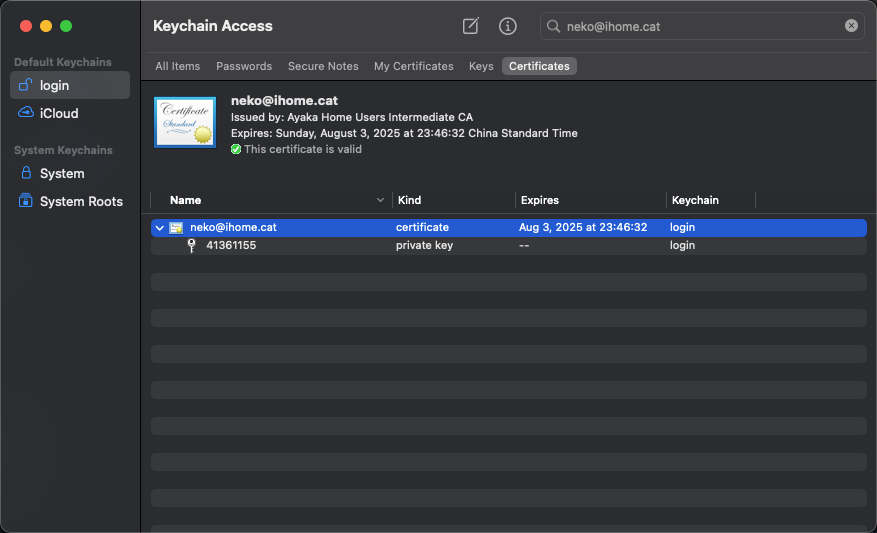
然后在弹出的「Keychain(钥匙串访问)」中点击「Login(登录)」分类,然后点选「Certificates(证书)」Tab,就可以看到了,如果之前有正确配置 CA 证书的话,可以看到小绿标:
现在就算是导入完毕了。
导入给 iOS 的设备
创建 Profile(描述文件)
对于 iOS 设备而言,虽然我们可以通过 AirDrop 或者电子邮件的方式将 .p12 文件发送到 iOS 设备后直接配置,但是我们可以利用 Apple 官方提供的名为「Apple Configurator」的工具更方便地操作。
可以先去 App Store 下载一个:Apple Configurator - Official Apple Support。
来到界面中,我们需要开始创建 Profile:
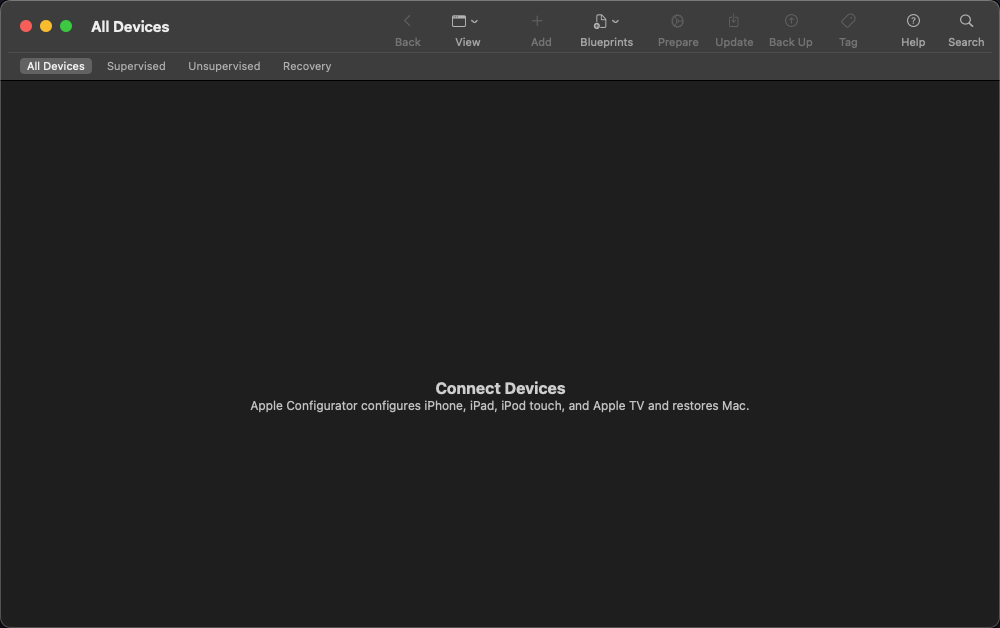
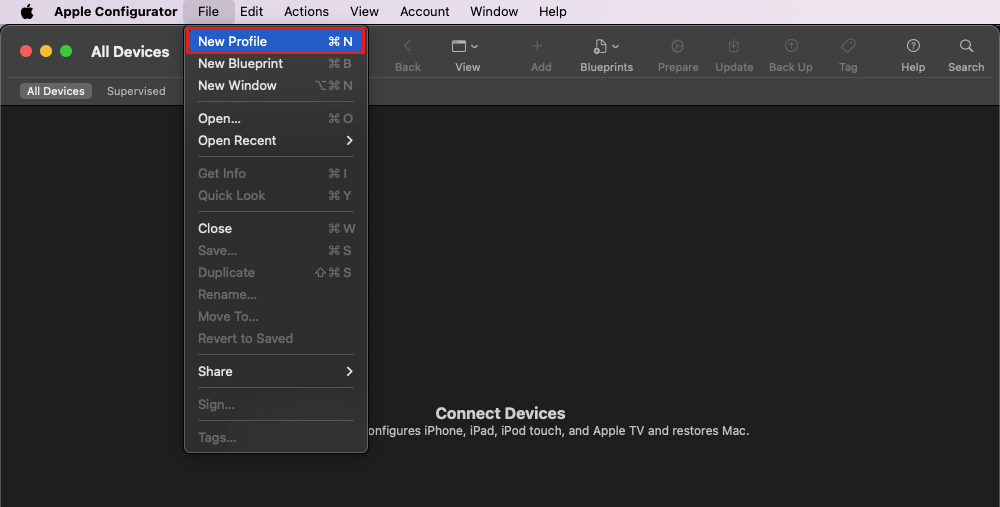
在菜单栏中找到 File,然后点选 New Profile:
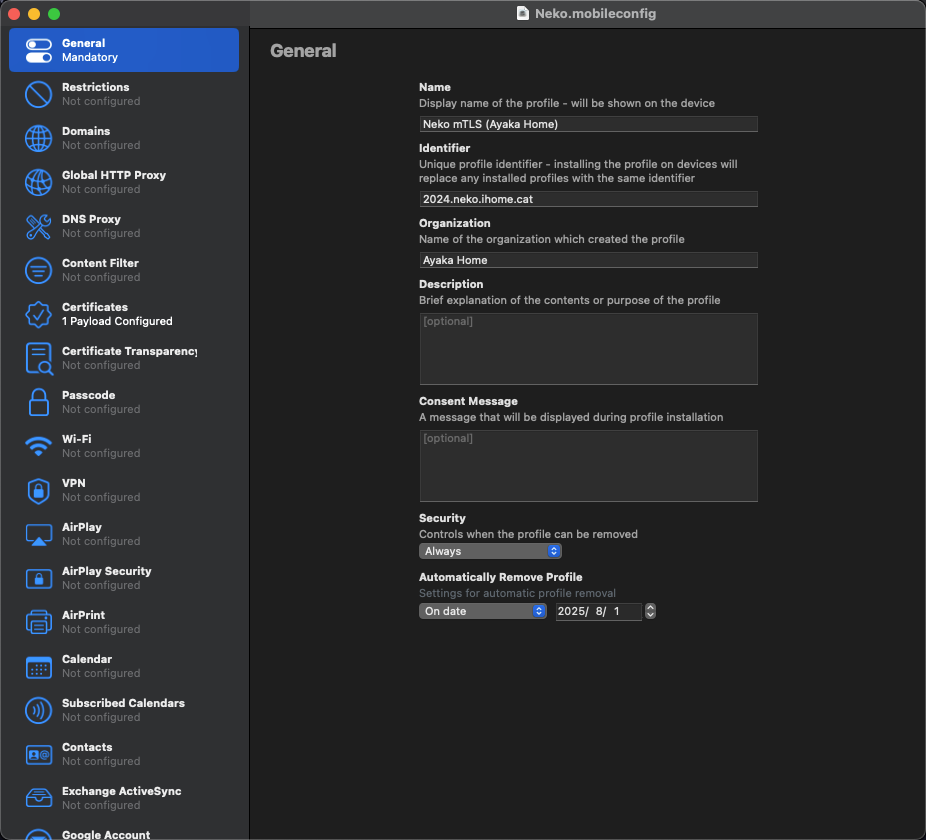
接下来在这里填写一些基本的信息:
然后点选 Certificates 的侧边栏项目,把我们生成好的 .p12 文件放进去:
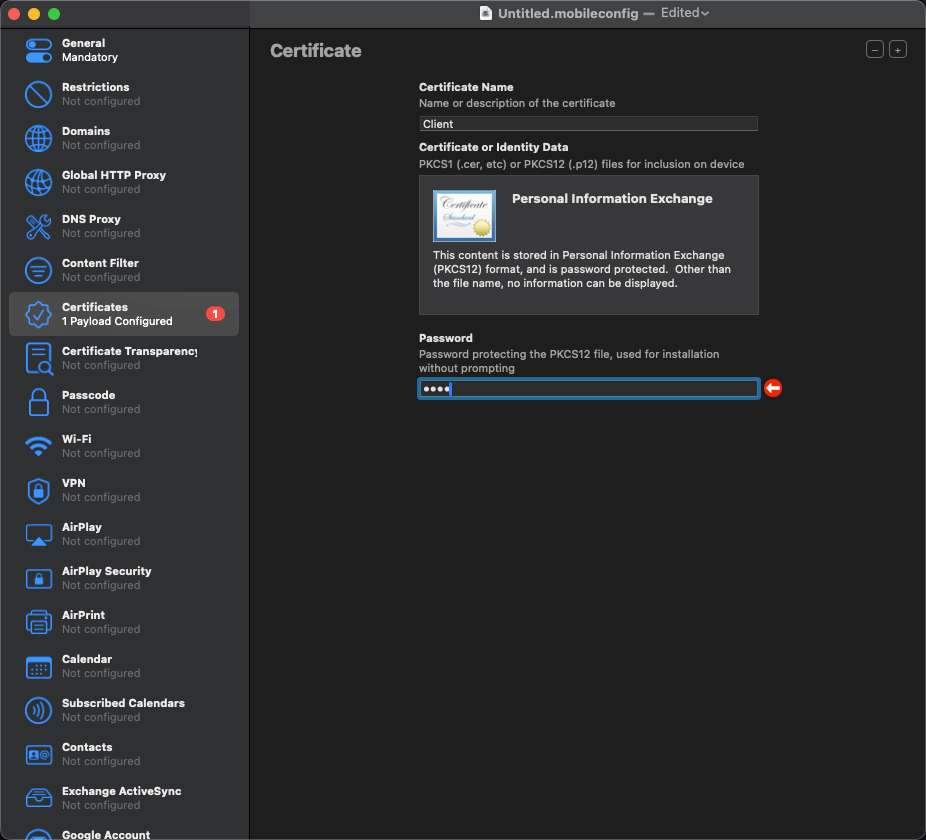
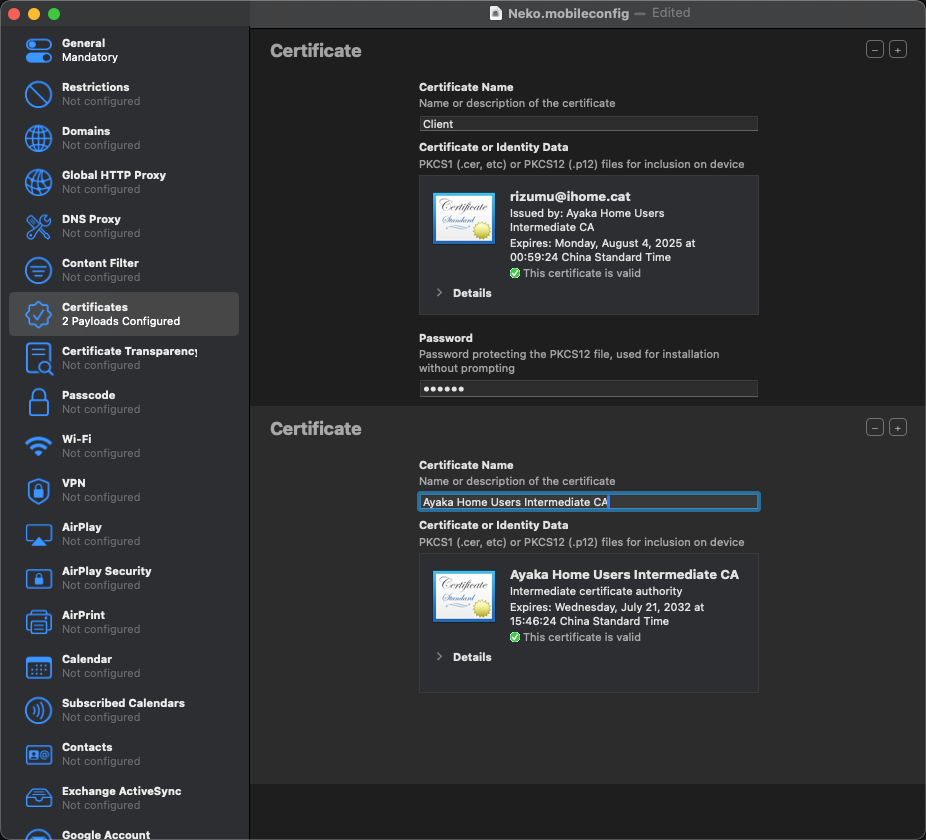
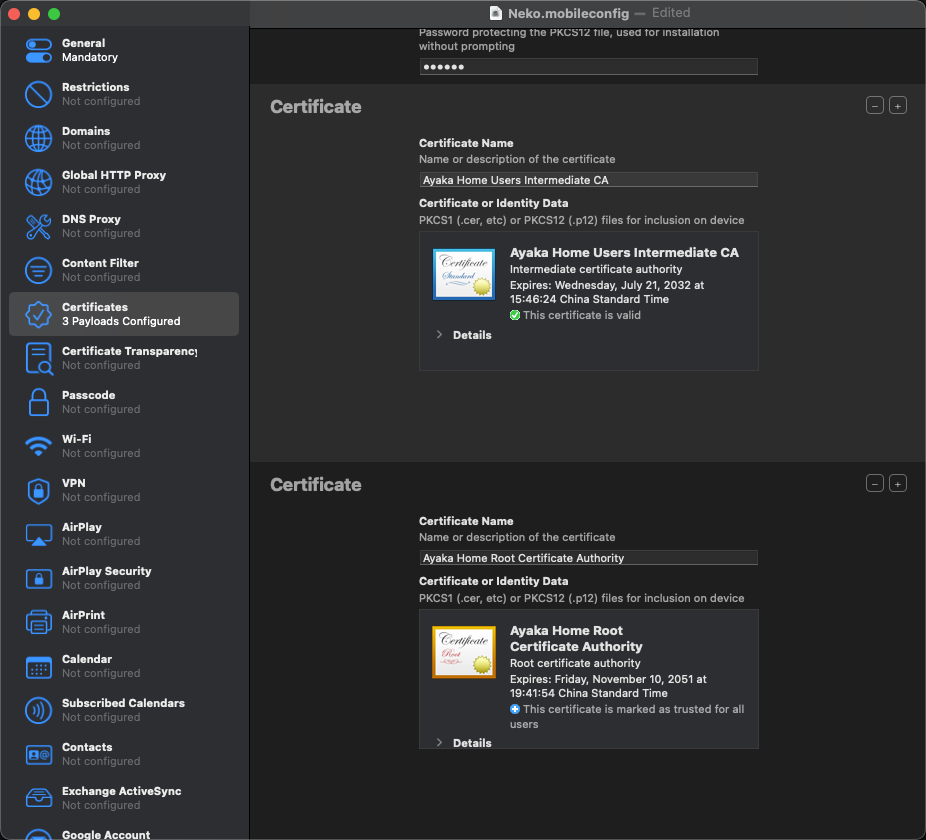
保存为找得到的文件,然后在 macOS 上使用 AirDrop 发送到需要安装证书的 iOS 设备或者 iPadOS 设备即可。
在设备上安装 Profile(描述文件)
在 AirDrop 之后,在「设置(Settings)」App 中找到「已下载描述文件」:
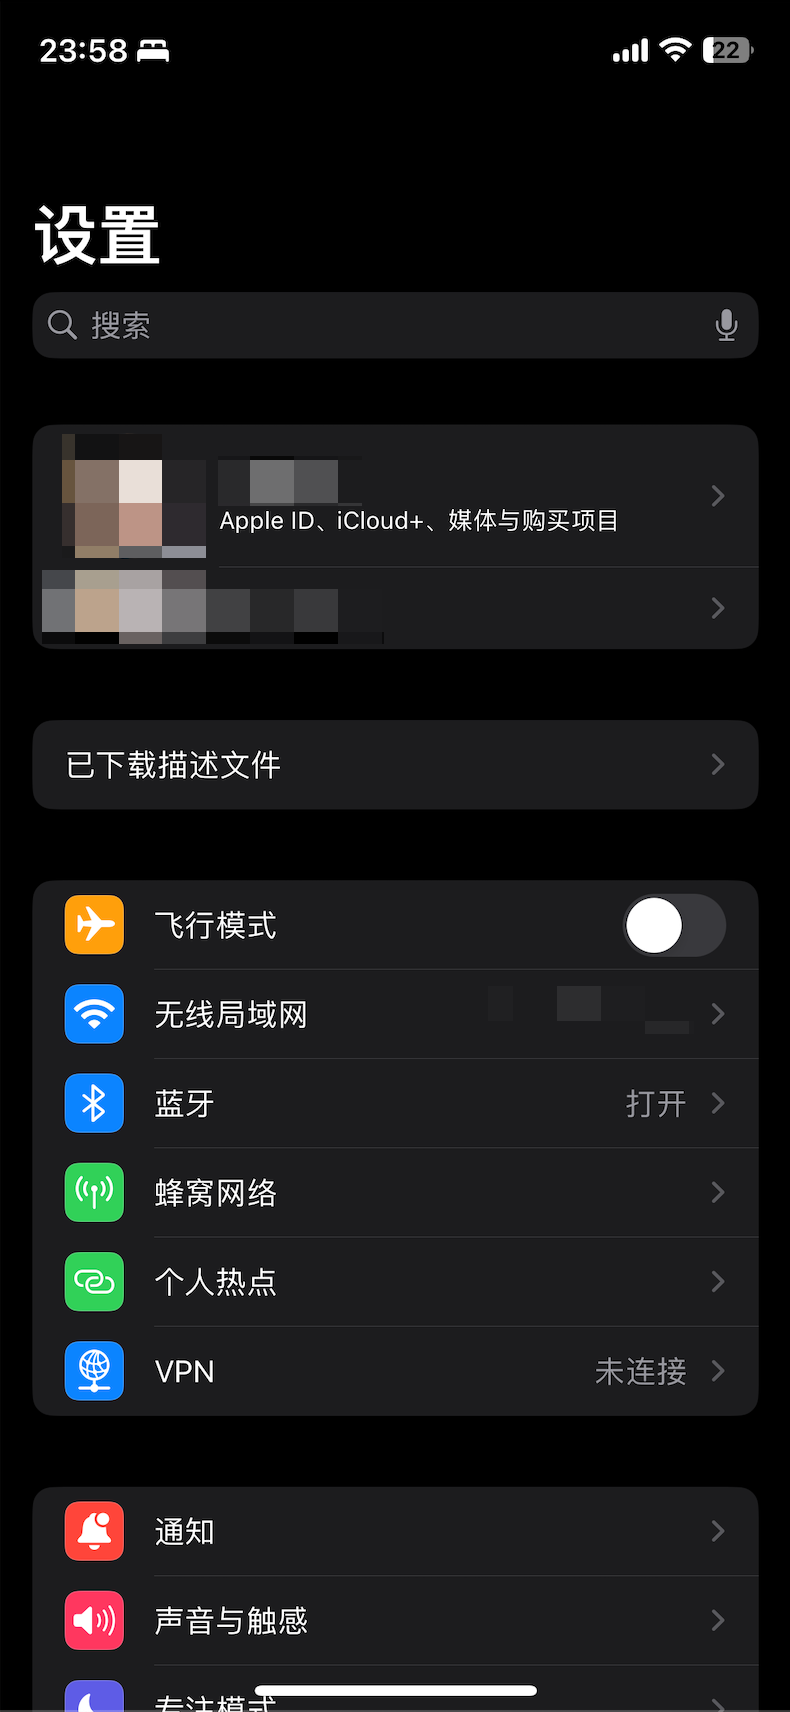
然后点击我们创建的 Profile(描述文件):
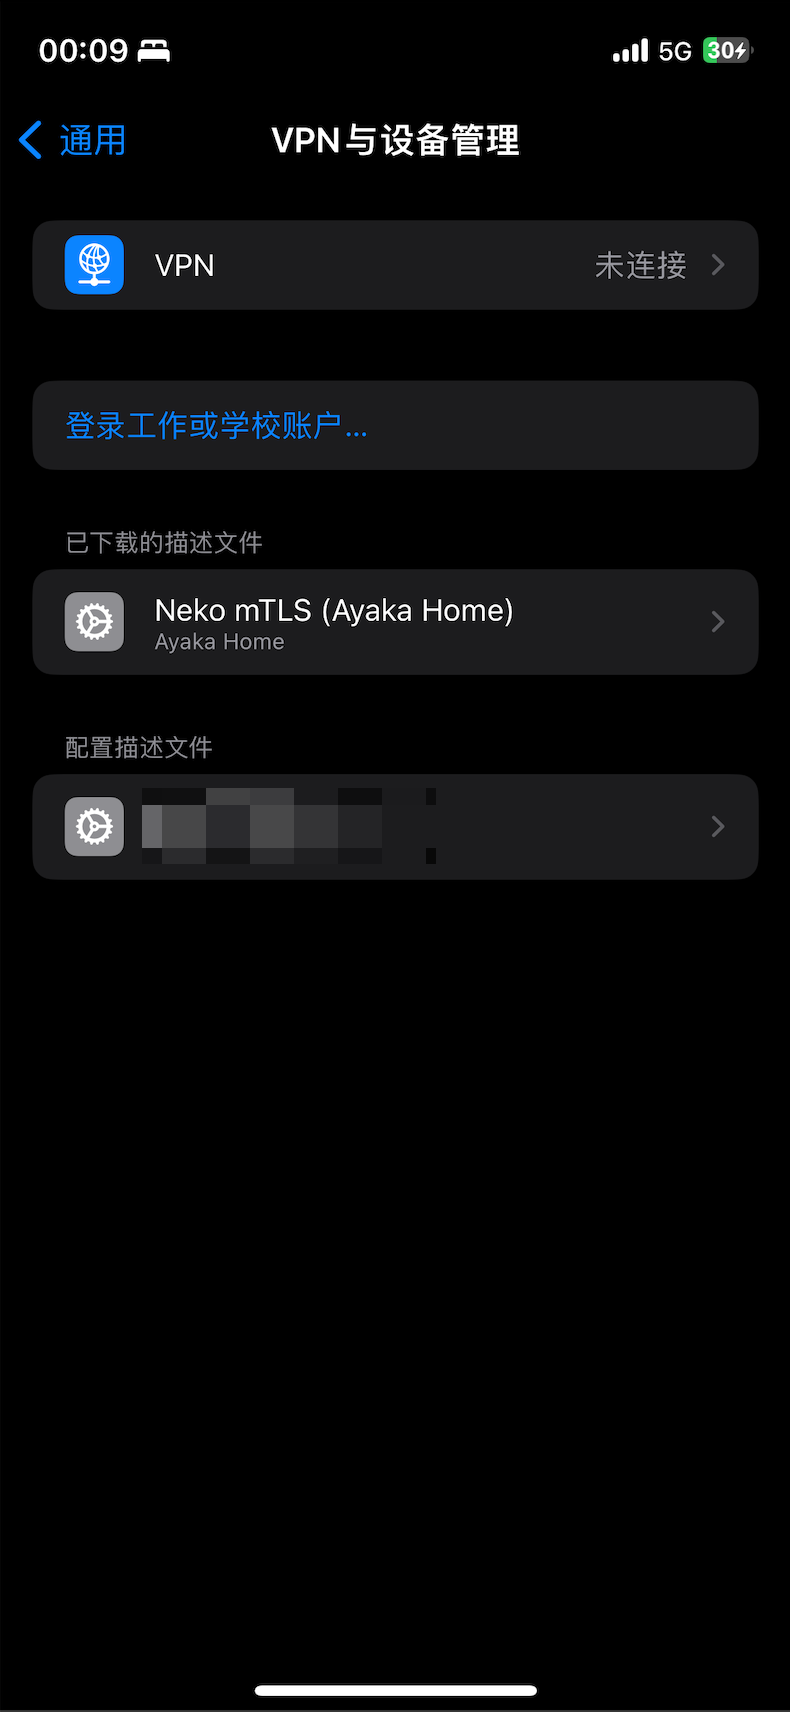
确认无误后点击安装:
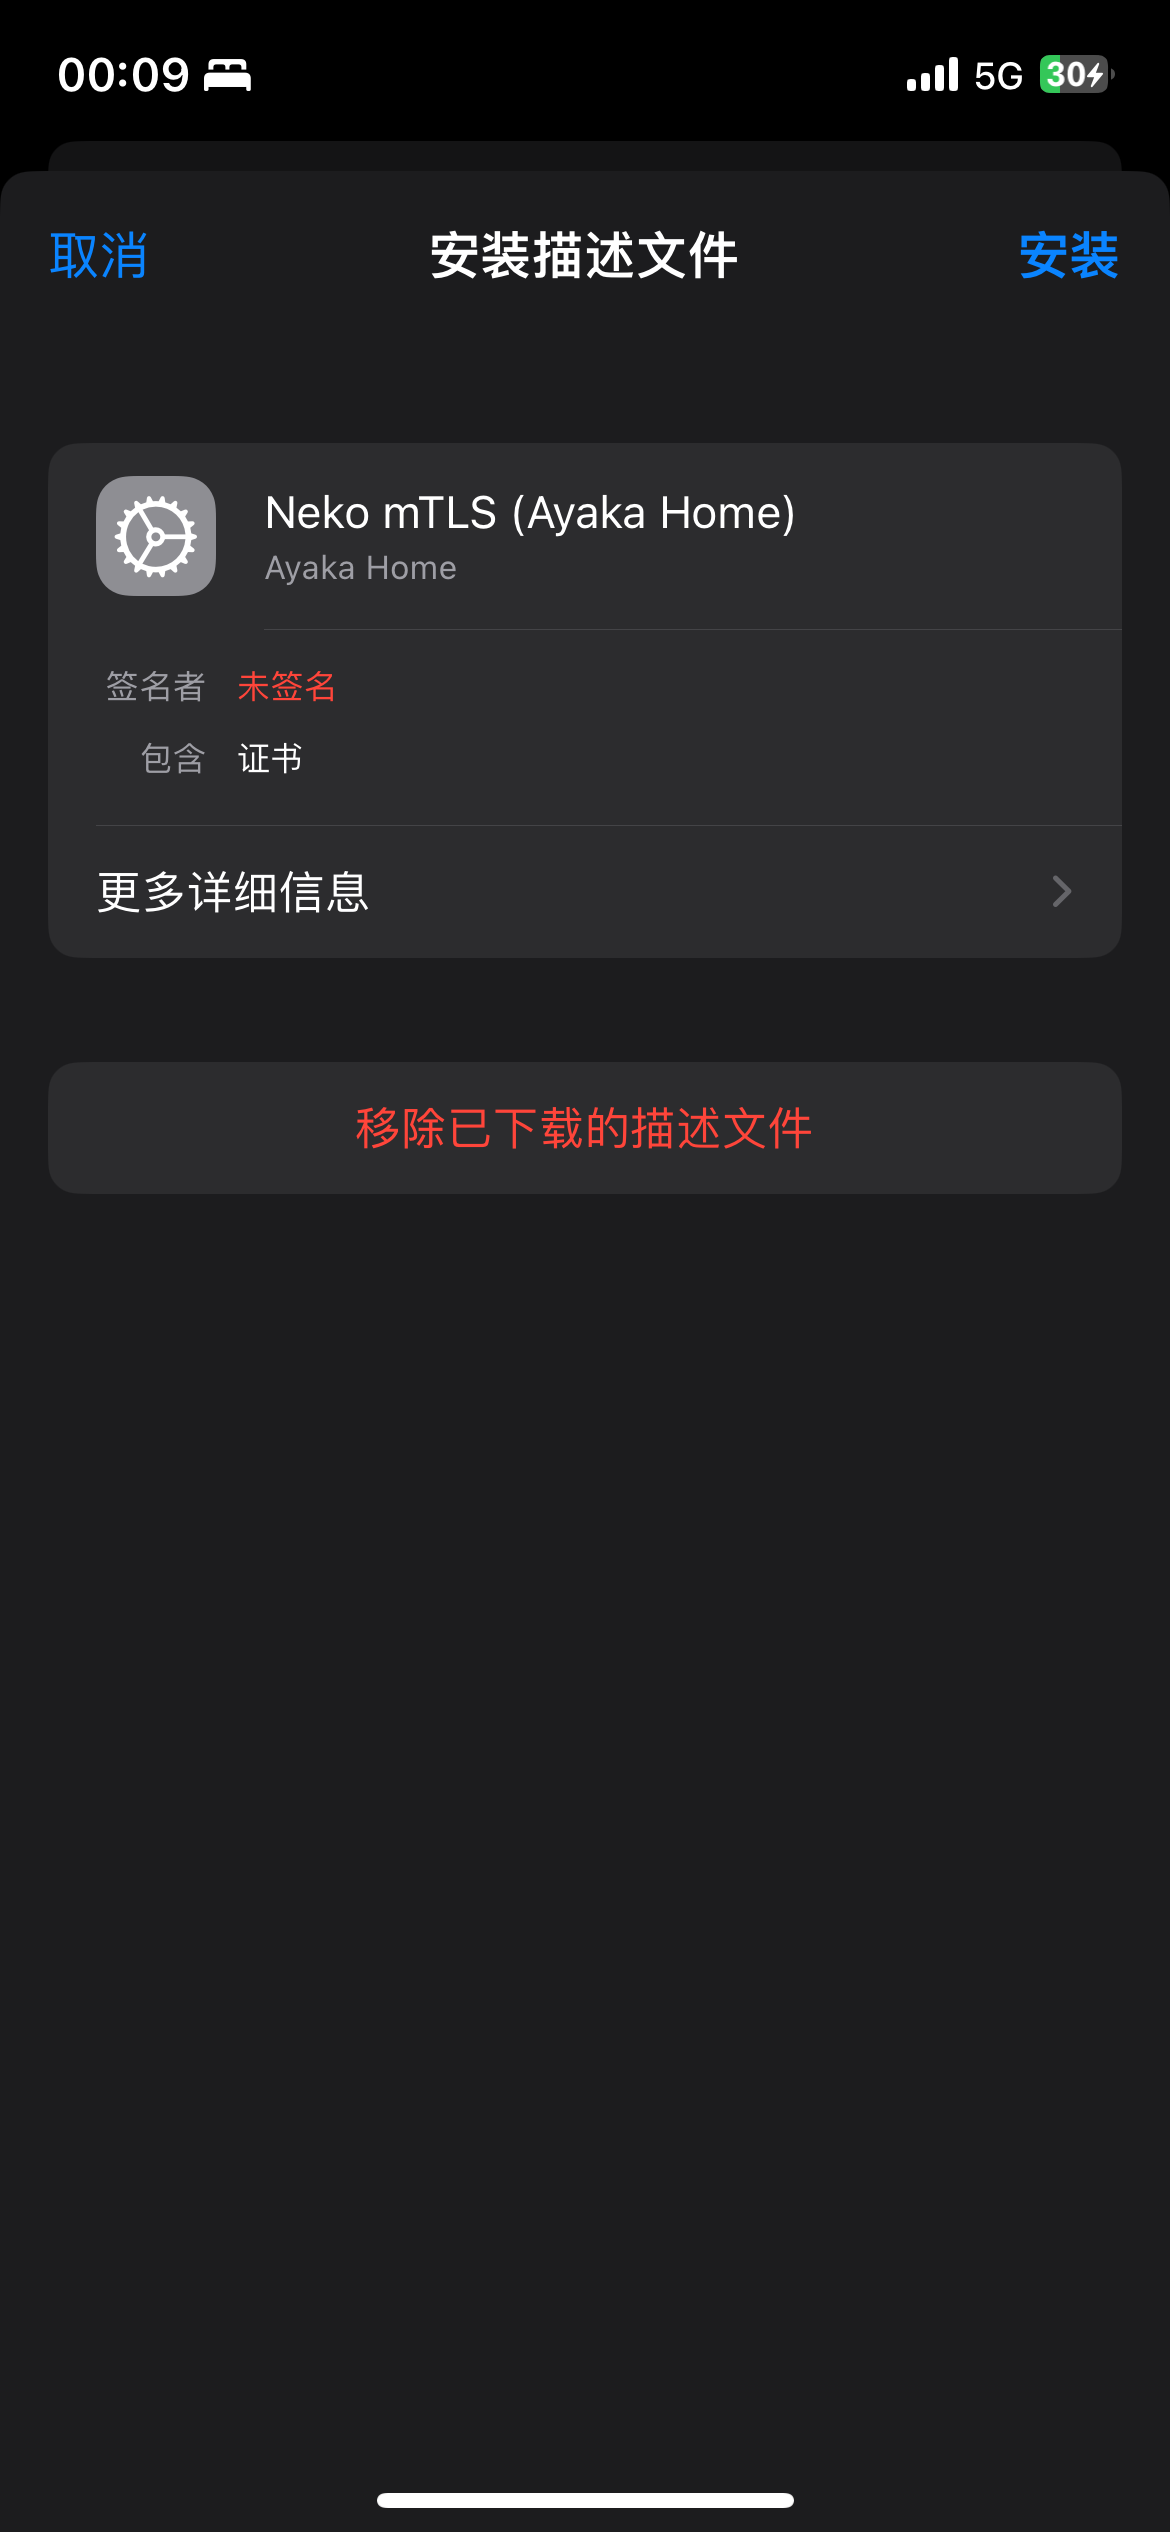
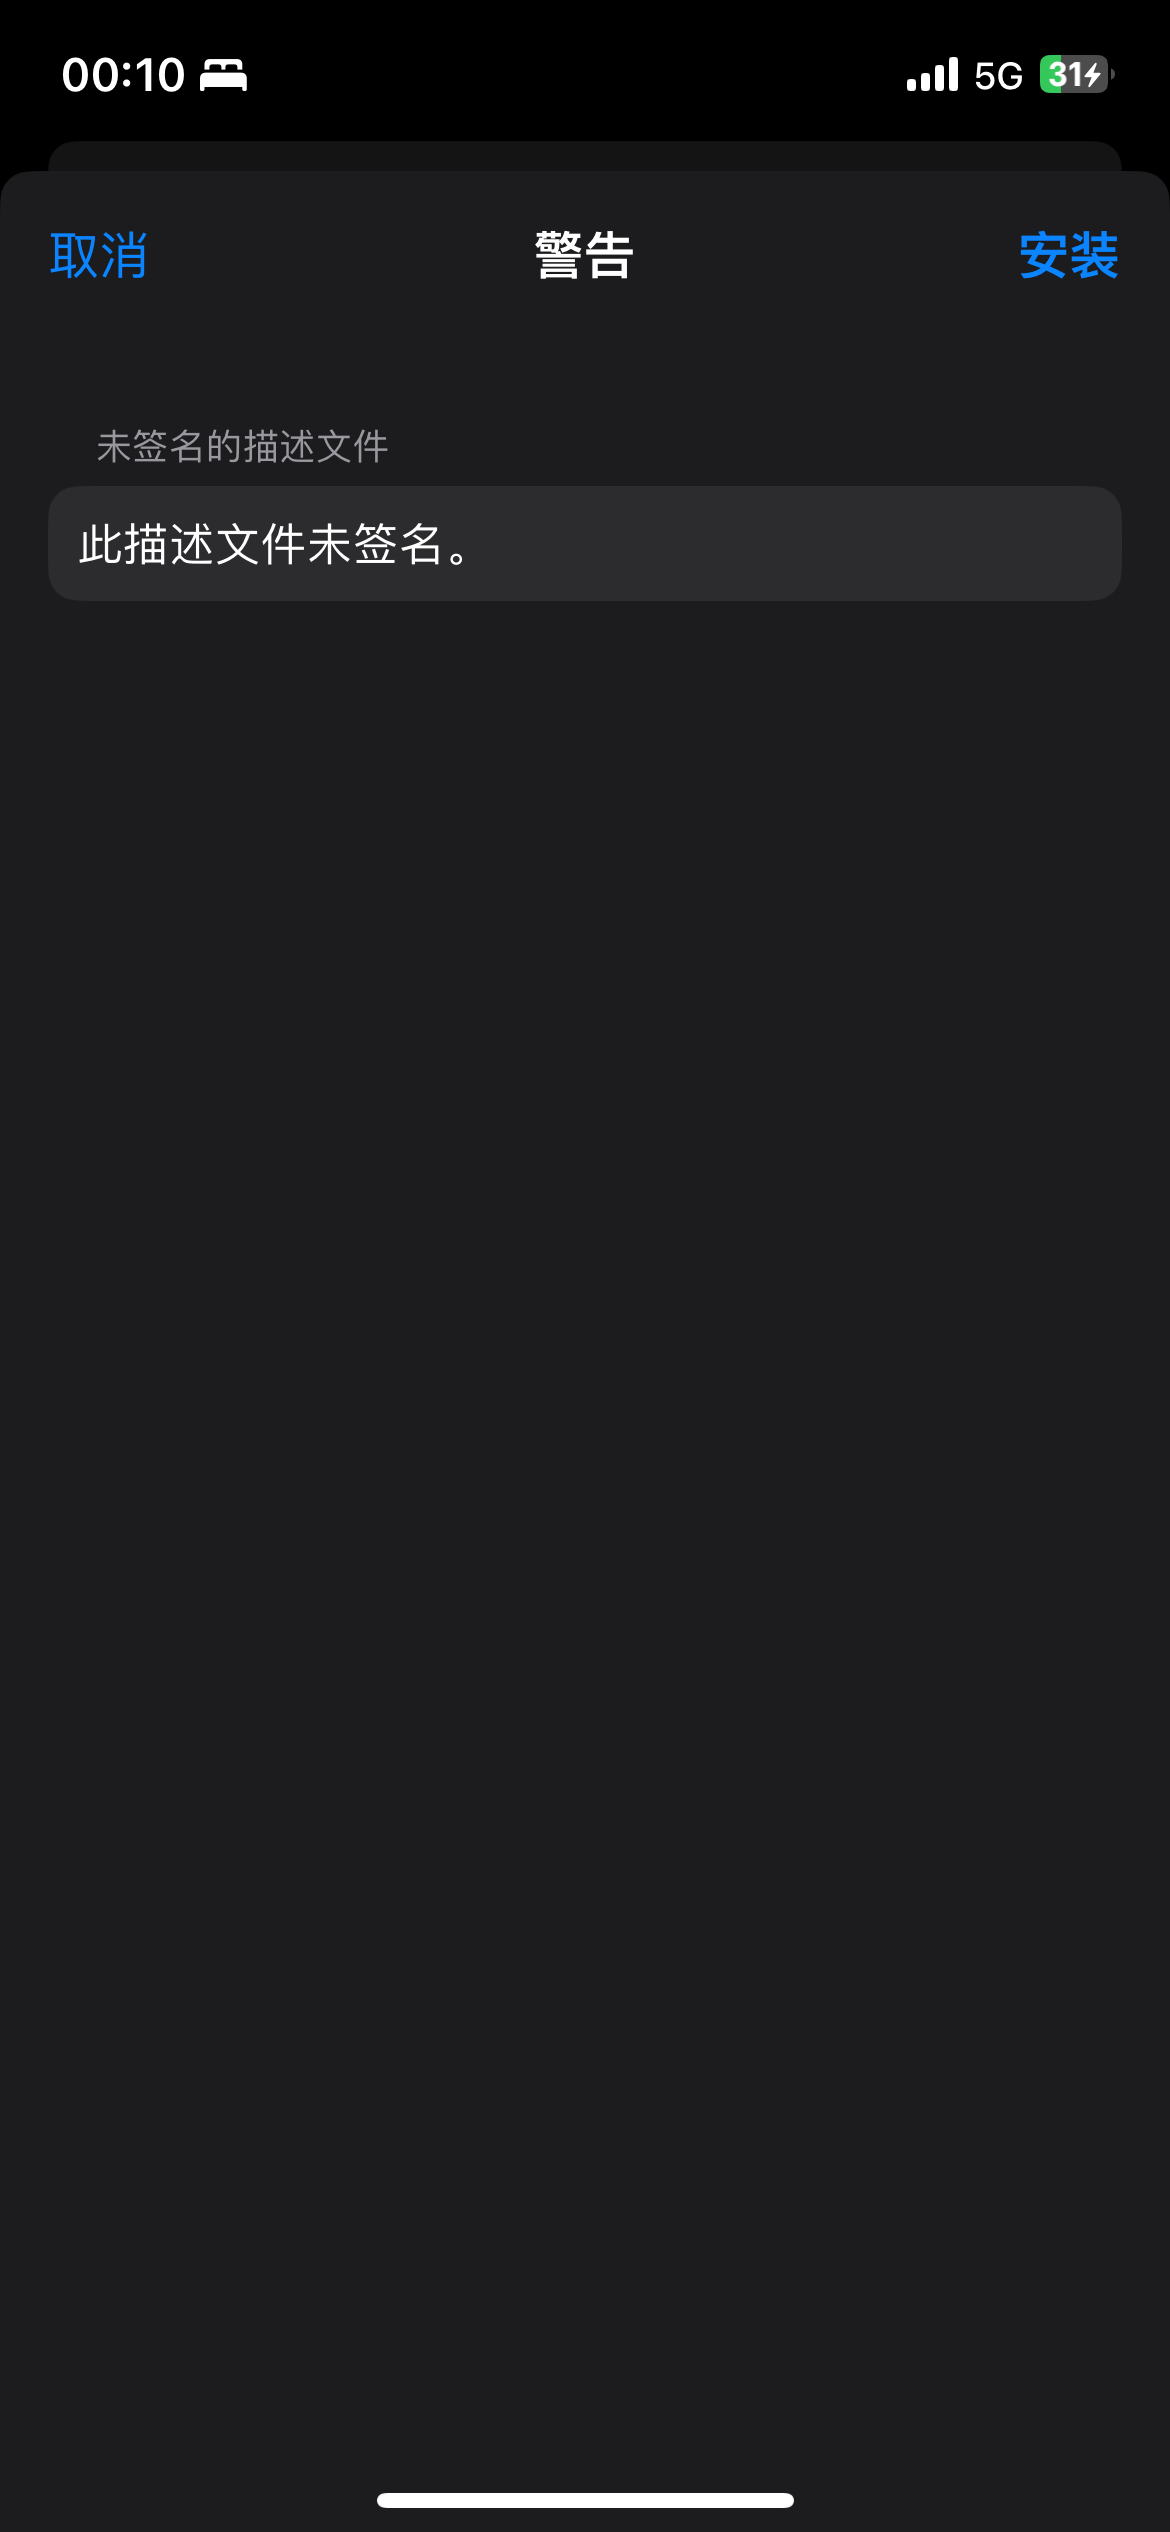
会提示说没有签名,这是正常的,毕竟我们没有 MDM 主体,我们继续点击安装:
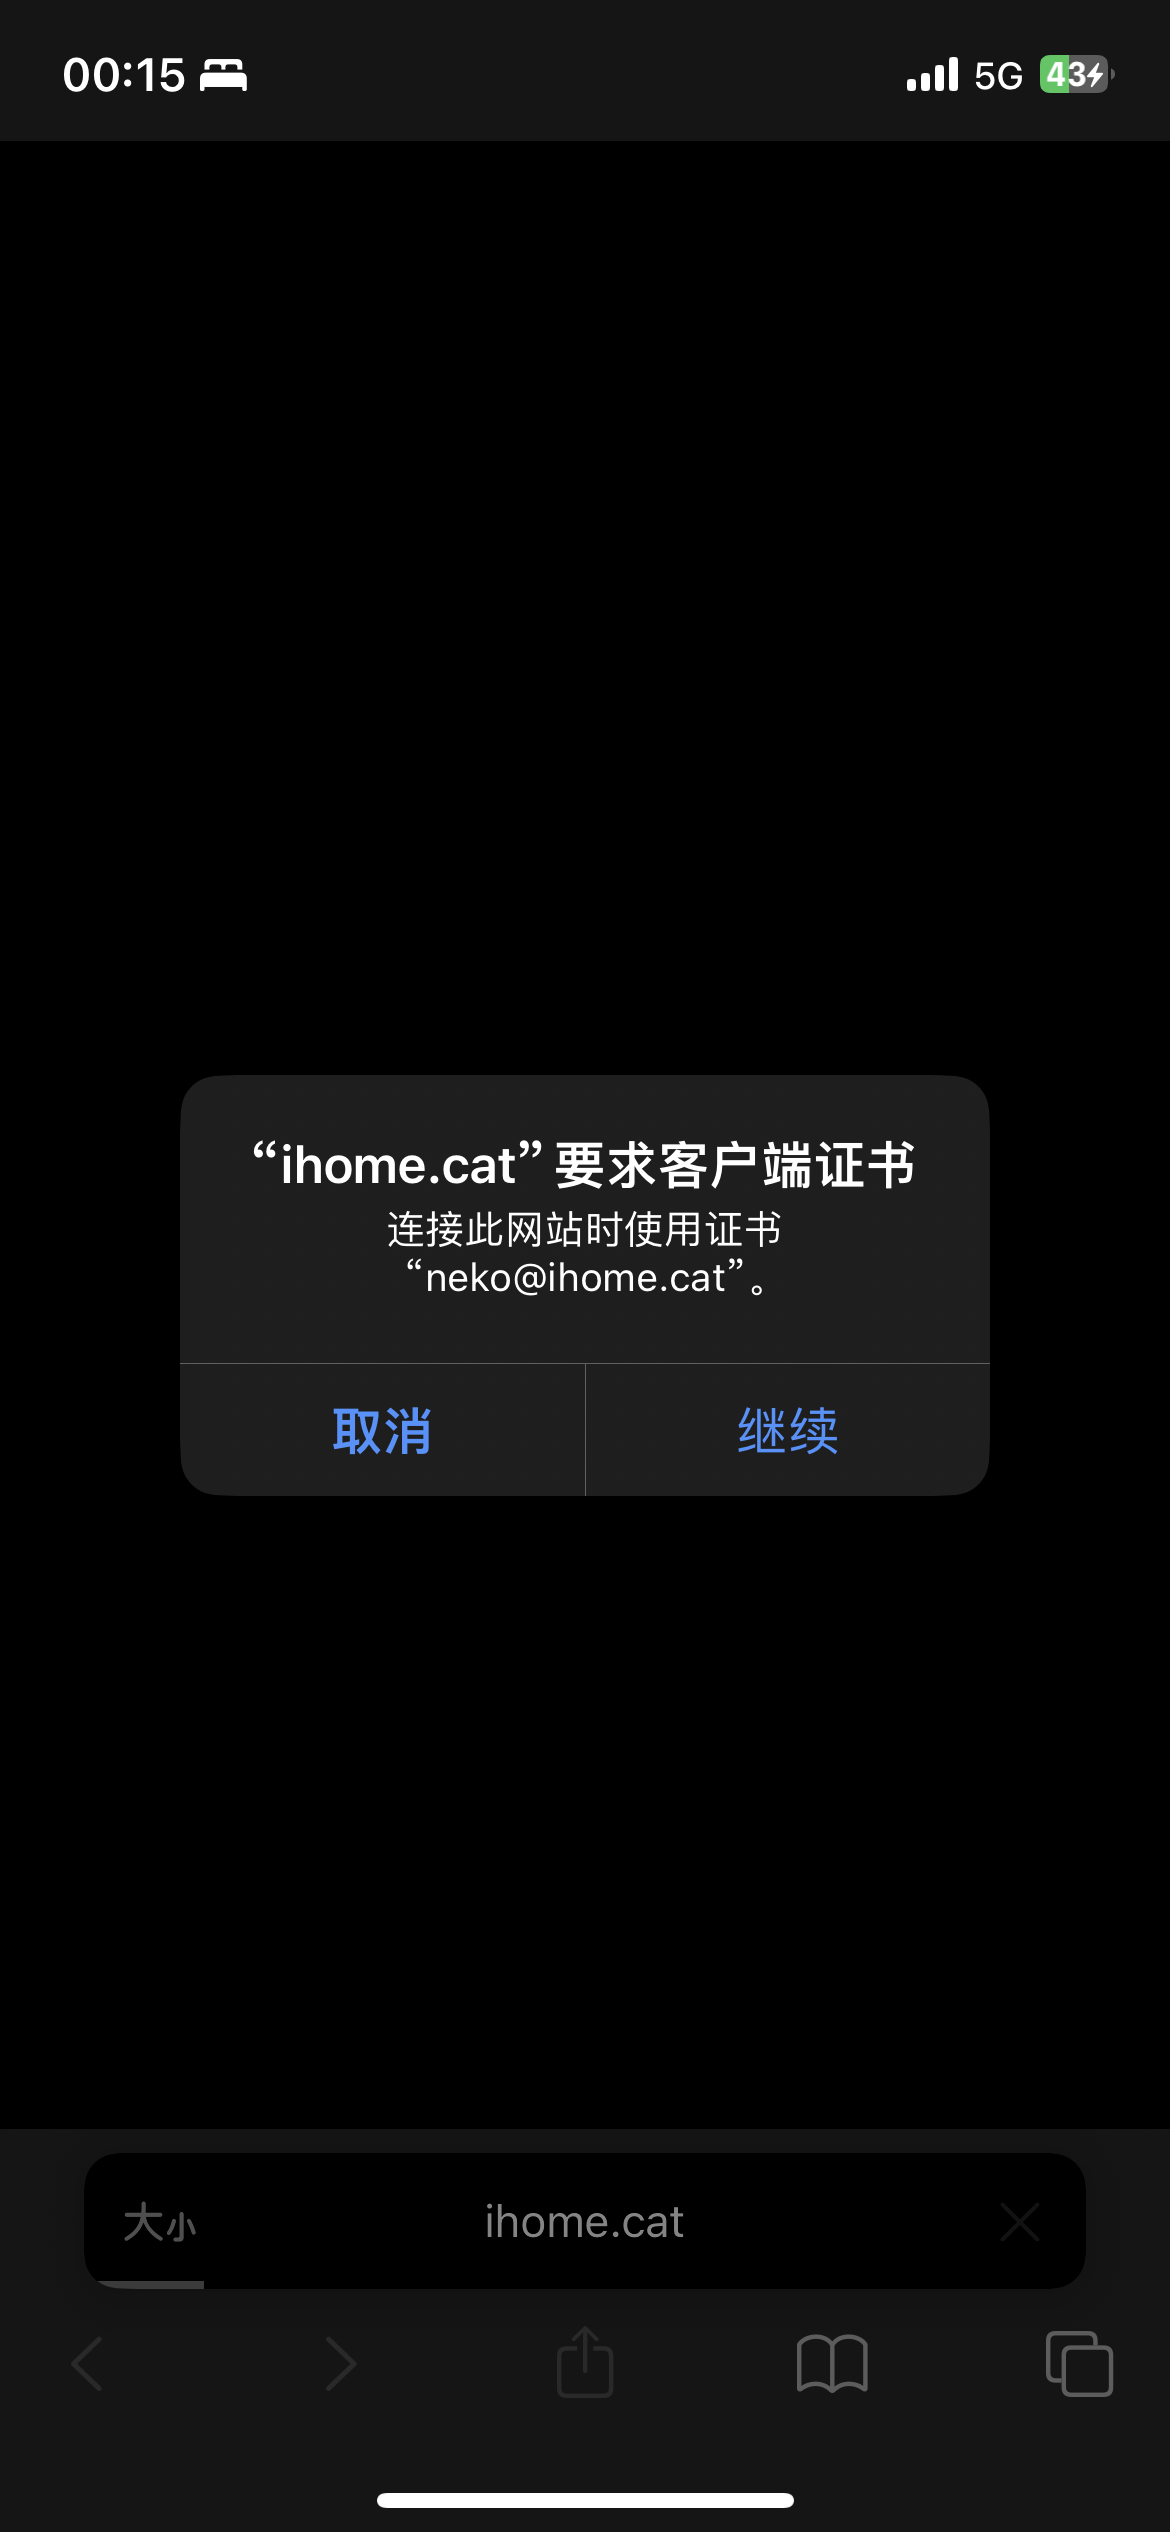
安装结束后,打开 Safari 浏览器,然后导航到需要 mTLS 客户端证书的网站,就会发现提示说需要使用客户端证书了:
 絢香猫
絢香猫